Getting a Brompton is exciting and taking it out for a spin is even more so. However, there are certain functions that the Brompton just didn’t seem to carry the complete package. I am listing here 7 add-ons to the Brompton that would make the riding experience more complete.
This setup had been refined over 5 years. A lot of trial and error in between, and these are the outcomes.
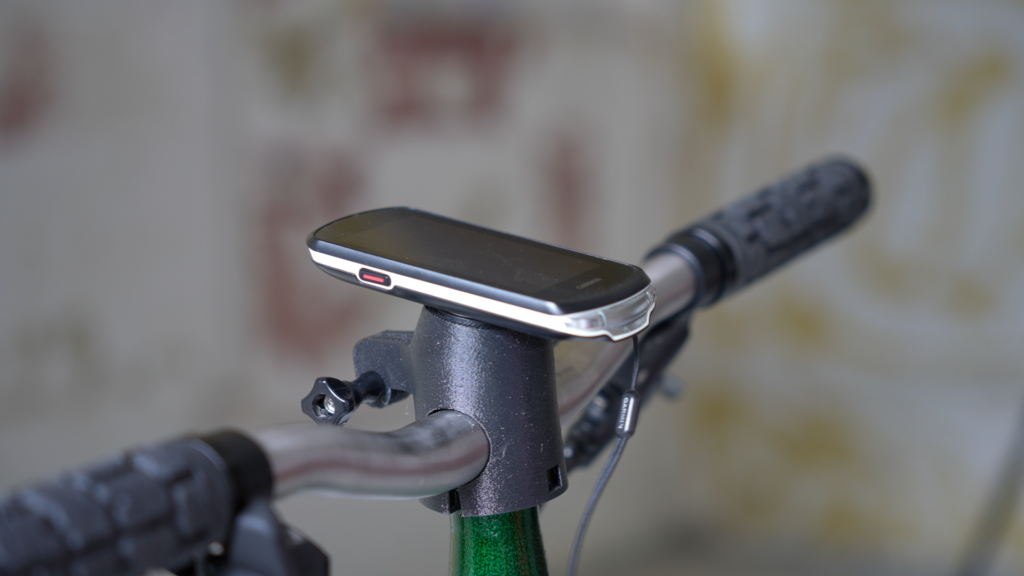
1. The GoPro and Garmin Computer Mount
I often like to track my ride when I am heading out for a longer one. The custom 3D printed mount does exactly that and it had been one of the stable items on my Brompton for the past year.
One of the biggest challenges on the longer ride is keeping myself from riding in the wrong places. My Garmin cycling computer allows me to plan-and-plot the exact route for the ride. By having the Garmin mounted on top of the handlebar, finding a way through the routes had made it so much easier.
There are a whole lot of computer mounts on the market, the Garmin and many of the cycling computers also come with a front extending mount or an on-the-bar mount that is fixed up with elastic bands.
With the standard Brompton, these front-extending mounts would totally get in the way when the bike is folded.
Remember, anything that goes in from of the stem will get in between the stem and the front wheel/fork when you are trying to fold it.
So, the front extending mount is out of the question. Plus, the standard A, C, and P line Brompton used a handlebar size of 25.4mm at the mounting interface. You will always need some adaptor to convert the 31.8mm interface (at the front extending mount) to the smaller sizes (the 25.4mm at the Brompton).
I am not a huge fan of the “off-center” mounting position, the “on-the-bar” mount provided wouldn’t be good to my liking as well.
Luckily, some kind soul (thank you Jason) had offered me this 3D printed mount. It is stretchable, and it’s easily transferable between the Bromptons. So, I can have it mounted and dismounted as I like it.
Aside from the cycling computer mount, there is a GoPro mount right at the front. This part is obvious, so I am not going to explain any more into it.
2. The Rear Camera and Light
This is a simple camera and rear light by ToooCycling. I made a few videos with the footage from this camera light system before. You can find one of the samples here.
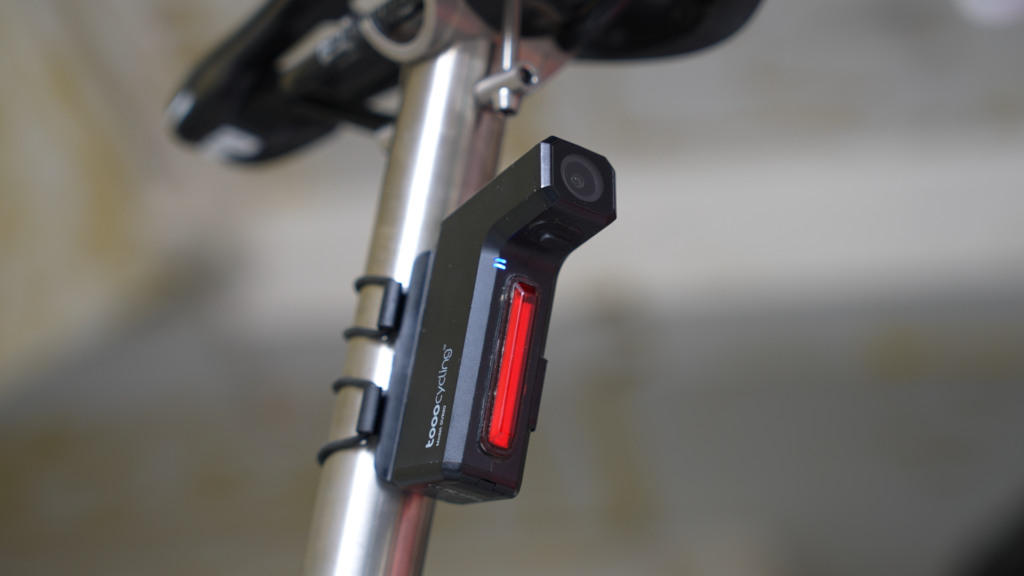
This camera light is straightforward, no apps, no special functions, which means it is easy to use. There is a single button to turn on and switch between different light modes. The video files would rewrite, or should I say overwritten over the oldest files, and continue with the loop recording. So you will always have the latest recording in your hand.
Other than needing the footage for video making, and touch wood, I never had to use any footage away from it. I guess I am riding relatively safe and defensively.
They had provided an extra mount at the package. So, you will be able to transfer the light/camera between 2 different bikes of yours.
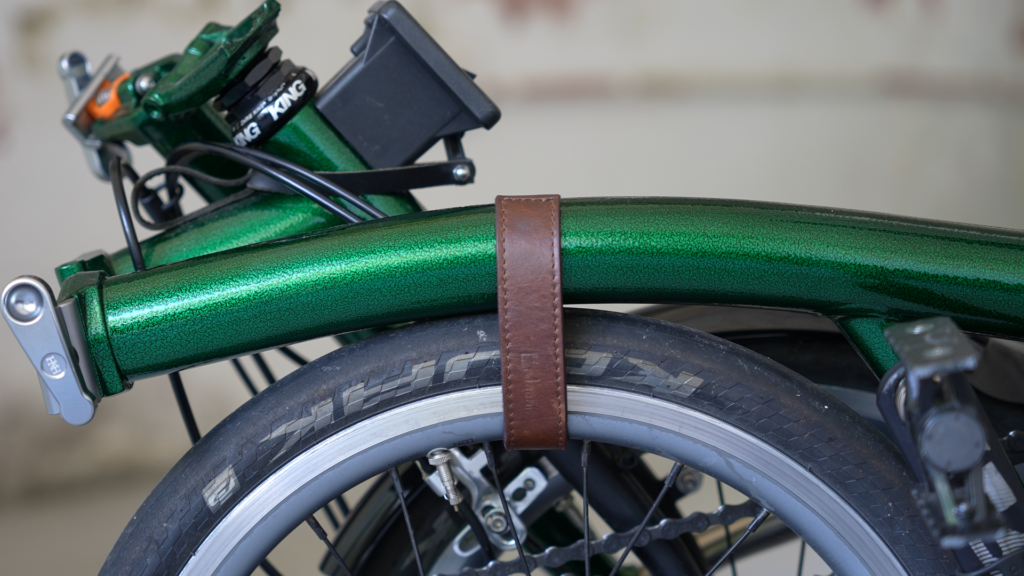
3. The Carrier Block Leather Puller
This is not new, and indeed, I didn’t invent this. They had been around for a long while. Some riders use a piece of string, and some people use some cable tie or however creative ways that they can be with it.

The idea is simple, triggering the release of the latch at the carrier block is harder to reach when you don’t have a direct visual to it.
So how about if we have a remote trigger that would sit where we have a direct visual? That would be nice right? And this leather thingy does precisely that.
So what’s this thing even called? I am calling it the carrier block leather puller. There are a whole lot many other names on the internet:
- Carrier Block Leather Release Strap
- Carrier block custom leather strips
- Carrier block bag puller
- Pull Strap Belt
- Luggage Release Strap
- Carrier block strap
You get the idea anyway.
4. The Water bottle bag
I have mentioned this before, and I will repeat it. Brompton has a water bottle problem. Maybe people don’t need a water bottle when they are doing an urban city ride. However, I do need my water bottle even heading for a short ride to the nearest Conner store.
Of course, Brompton has their fixes with their water bottle compartments at the front mounted bag, but most of the time, I don’t even bring the larger front bag with me.
Here comes my solution, the feed bag.
The one that I have here is by Skingrowsback. I have been using it on my bike for a year now. Surprisingly, it is still as colorful as it was new.
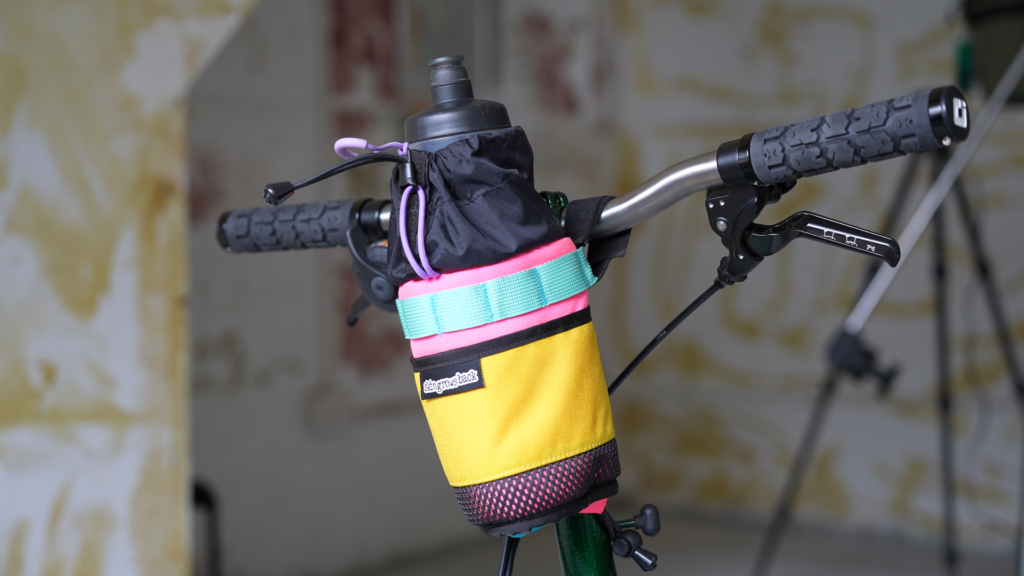
This kind of bag is called the feedbag because when it was first invented, they were primarily used on touring bikes, and they carry food supplies. So it’s an easy grab of food during the ride.
Of course, bags are bags, riders are using it differently these days. Sometimes I just put my phone, wallet and house keys inside if I am just heading out for a lunch ride, but most of the time, I would have my water bottle at it.
There are a few reasons why I picked this Skingrowsback from Australia over the others:
- First, they really are made from thick padding and ragged materials, they are heavier duty than most of the feed bags that I’ve seen before.
- Secondly, they have this one-finger operation to close and open up the compartment’s top. A quick pull at the black cable to secure it, the other pull on the purple cable to release it. It’s a totally single-hand operation.
- Third, they have this extra ribbon space for me to hock or latch anything on it;
- Fourth, they have this little space for you to slot a phone and other things in at the side, even if you have the water bottle in.
It doesn’t sound so bad as a water bottle fix right?
5. The Saddle Bag
Alright, this is a hard one. I know a lot of Brompton riders would fold up their bikes and transit home when they got a flat at the tyres.
I am here to enjoy my ride, and I would like to get my rides done. So, being able to fix up my tyres and some mirror issues by the roadside is a must for me.
Here, may I introduce the saddle bag to you? Yes, it matches my water bottle bag.
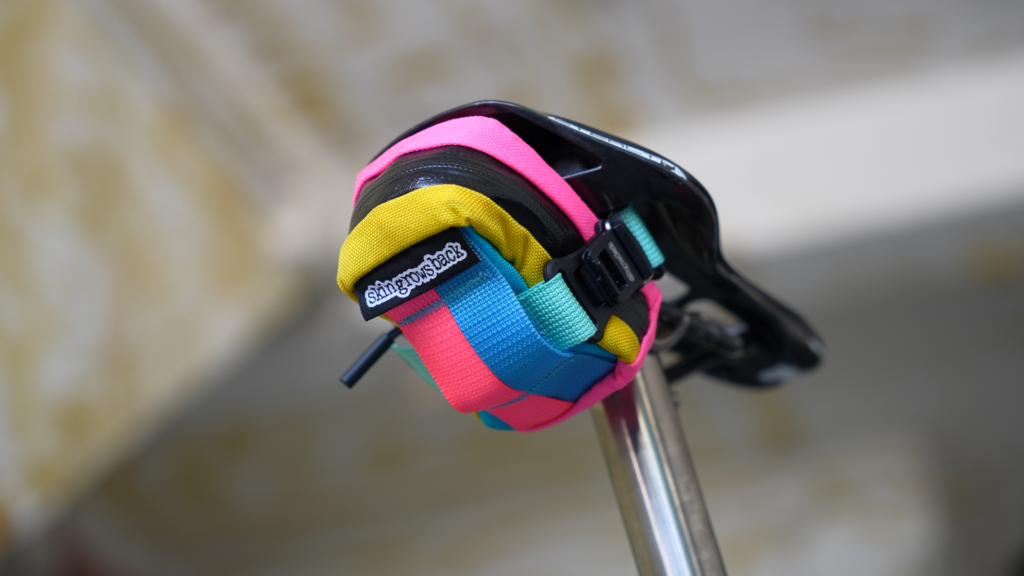
I only have a few things inside this saddle bag, a spare tube, a multi-tool and a gas canister for the easy air refill.
As well as being a ragged saddle bag, instead of the normally used Velcro stripe to secure the bag to the saddle. This one uses the magnetic buckle instead. I am guessing they would last longer than the Velcro stripe.
6. The Wheel Strap
This is a keeper for my Brompton. I made a video on “3 of the most essential upgrades on the Brompton” a while back. All 3 of the recommended items at the time still had their stands. The wheel strap was one of them.
If you haven’t watched that video yet, you will be able to enjoy it here.
What is a wheel stripe I heard you ask?
In straightforward terms, a Velcro strap wraps around your rear wheel and top tube when your bike is folded. So when you have your seatpost pulled up for easy pushing. You can still lift up the Brompton (from the saddle) without having the Brompton going unfold.
Yeah, you might be asking, didn’t Brompton have that addressed when they introduced the P and T line with the “stop block”? Yes, they did, they really did. But that only works when the seatpost is still exposed (extended out) from the seat-tube.
Don’t get mixed up with the seat-tube with the seatpost. The seatpost is the actual post that supports the saddle, and the seat-tube is the tube at the main frame where the seatpost is going through.
So, if the seatpost is still exposed, it works. If it goes into the seat tube, the Brompton will get unfolded when you lift the bike.
I guess old tricks never dies.
7. The Front Light
Front light, I don’t know what brand this is, after all, as long as it serves my needs at night. I am happy with it. Most of the places I ride around have enough ambient streetlights, so all I need is a signaling light to let people know I am here and about.
When I pick my front light, there are 2 things that I am always looking at. First, it had to expose me to the left, right and center. Suppose you take a closer look at this light. The transparent plastic parts offer the light to bean sideways. So, drivers or riders could see me from the side, or at least from a wider viewing angle.
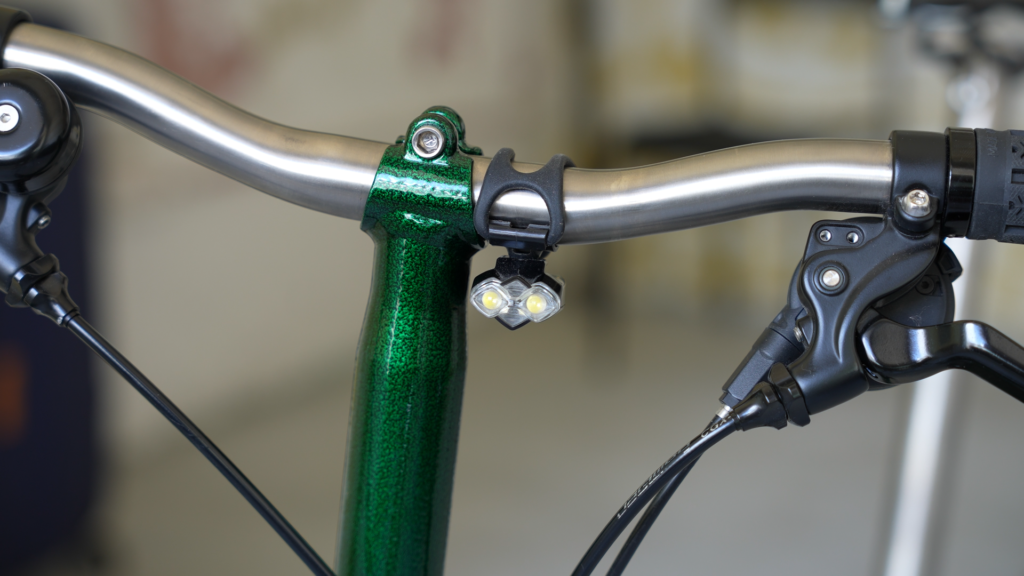
Secondly, it had to be very small. Most of the time, I am using the light in blinker mode. It’s distracting when you can see the blinking during the ride.
I usually would have the light installed upside down and use the handlebar to block off the flashing light from my riding position. This setup has been serving me very well so far.
Often, people ask me, “What do you use when it is in complete darkness?” or “Why don’t you use the Brompton light that sits right above the front wheel?”
Honestly, I don’t know why you need a super bright light when you are riding at a place that has so many streetlights. You really don’t need it.
Point it downwards and see if it works for you! I remember when I first went to Australia and had night rides almost 20 years ago. Most roads back then were in complete darkness, and blinkers might not work the deal. But indeed, a smaller constant light, along with the moonlight supporting in the background, would really get the work done.
As for the Brompton over the front wheel light, I don’t use them, I like having control of my lights when I am riding the bike. Bending down towards the front wheel to adjust would cause more harm than good for me.
When riding the bike, having the light at the handlebar would offer me an easy way to switch the light between modes.
Another reason would be when the light is at a higher position, you will have a better pointing downward angle to avoid shining the light right at the opposite rider’s eyes.
This is a safety issue.
See you on the next ride. Dash!